Category / Section
How to Move Users to a BreakOut Room Inside a Virtual Classroom
Published:
1 min read
With the help of BreakOut rooms, you can split your class into smaller groups so that your students collaborate and practice individually. There are no limits to the number of breakout rooms you can create.
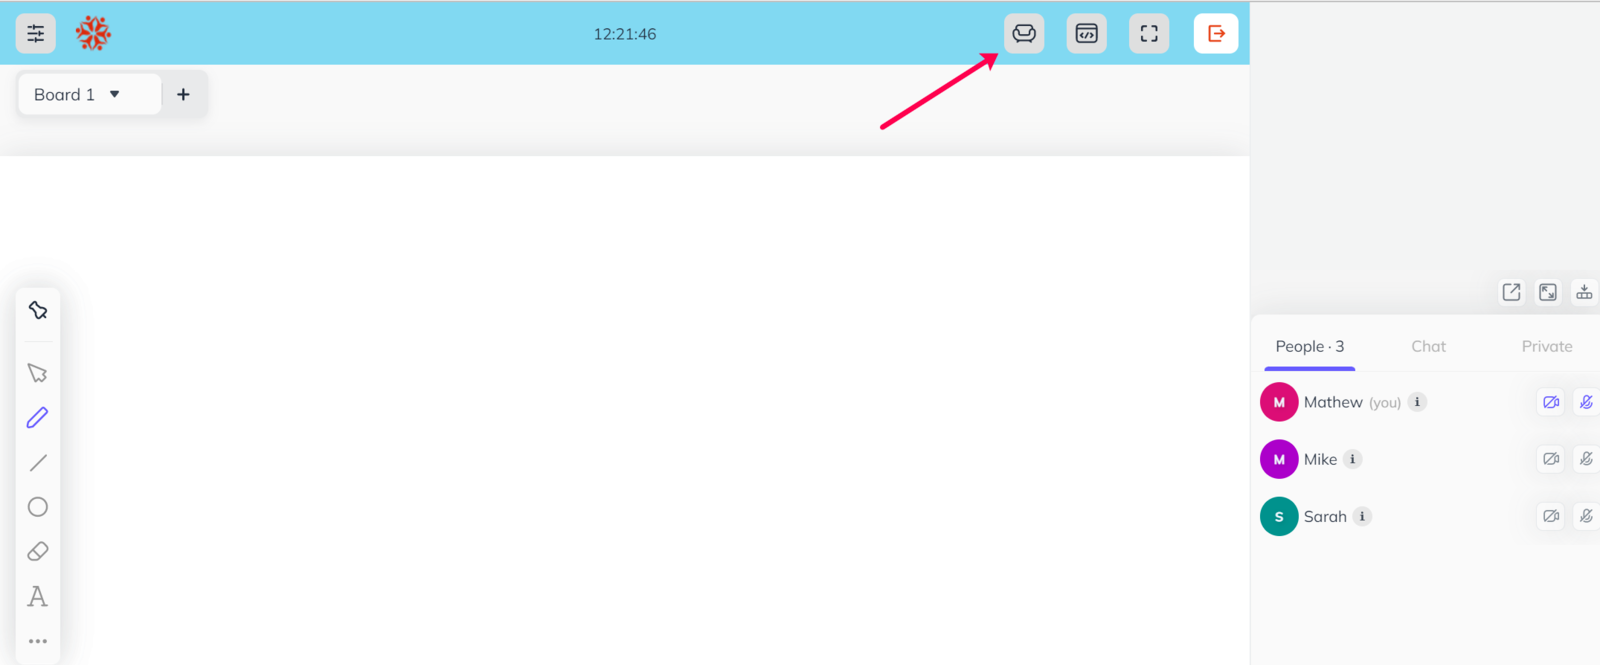
Step 1:
As an instructor you can move users or attendees to a BreakOut room. To move users inside a breakout room, click on the 'BreakOut room' Icon.
Step 2:
You will see a popup with options 'New/Manage' and 'Primary' room. Select New/Manage.
Step 3:
To create a new breakout room, simply drag an attendee from the main list to the Create Column.
Once you drag an attendee to the Create column, a new Breakout room will be automatically created and you can see the list of attendees in it. The BreakRooms are numbered automatically as "BreakRoom 1", "BreakRoom 2" and so on.
Make sure to promote an attendee as the 'Presenter' for the BreakRoom. The attendee with 'Presenter' role can now have access to all the tools and can grant (or deny) permission to use microphone, webcam, whiteboard, screen sharing and teacher tools.
Note:
To move the users back to the main room, select the attendees from the Breakout Room and drag them back to the main room.
To move the users back to the main room, select the attendees from the Breakout Room and drag them back to the main room.
