Category / Section
Configure Mail Relay Settings - SMTP
Published:
Mail relay, also known as an SMTP relay, is a process that involves transferring email messages from one mail server to another.
This article guides you on how to use the mail relay service provided by BrainCert.
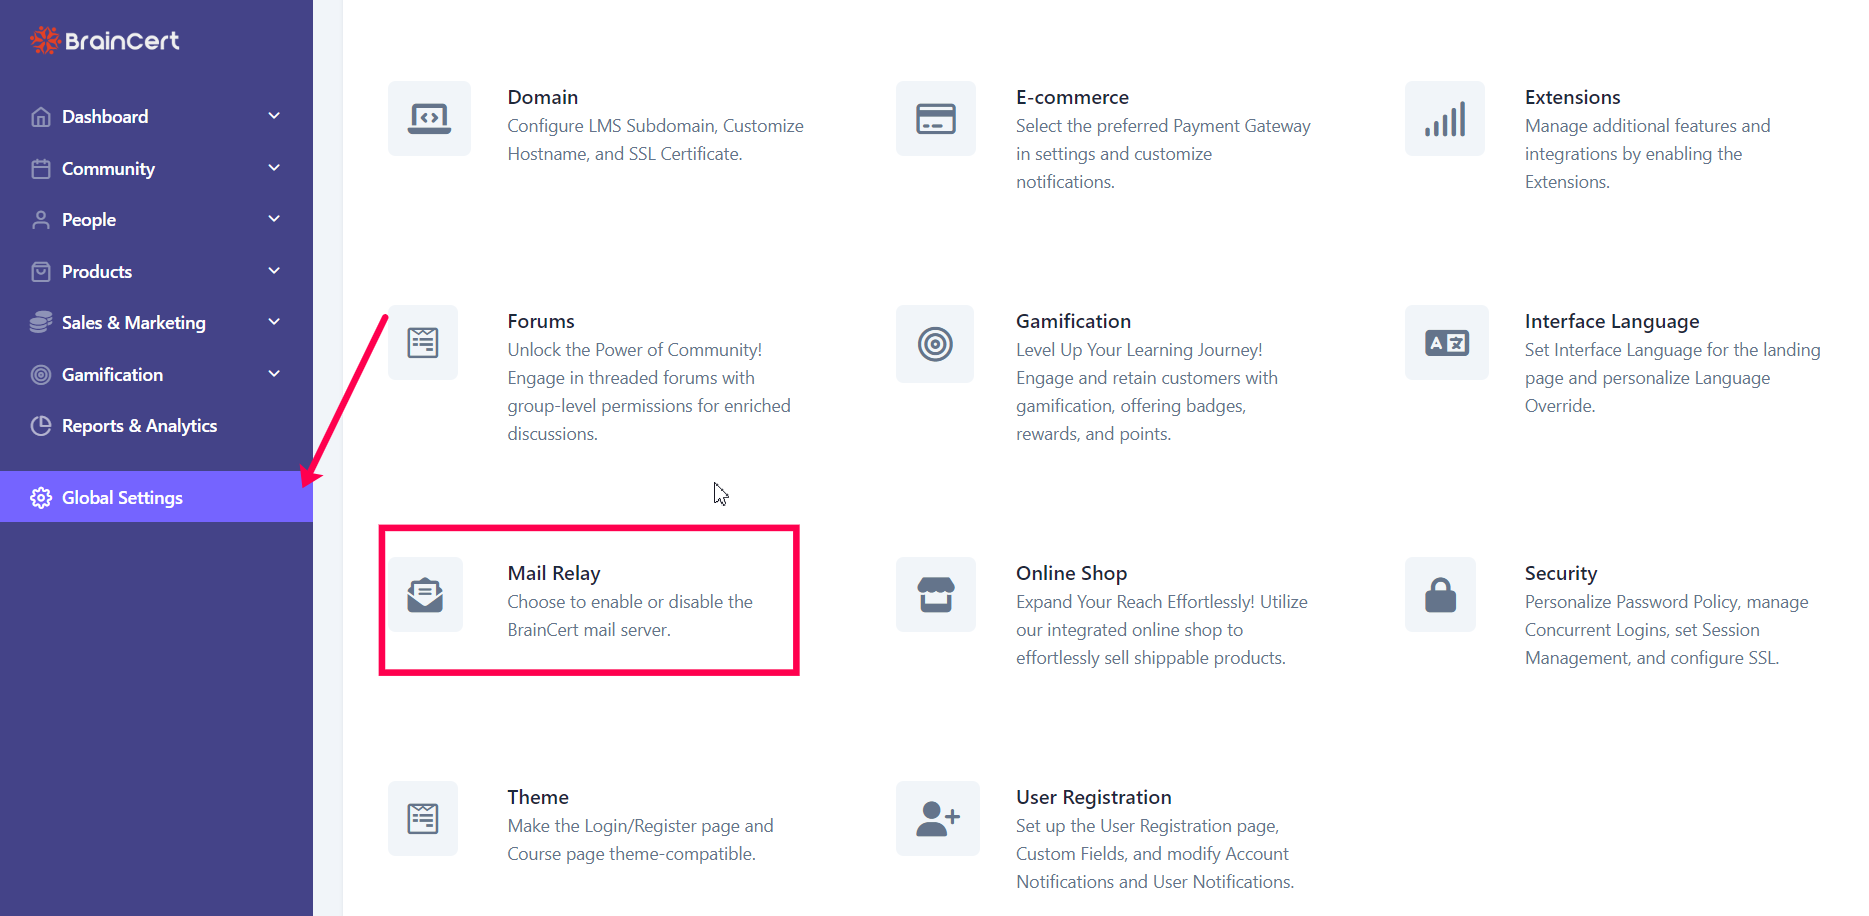
Step 1:
Navigate to 'Global Settings' and open 'Mail Relay'.

Step 2:
By default, the sender's details will be extracted from your profile. You can modify the 'Sender Name' and 'Sender Email' if necessary and click on 'Update Sender'.
- Sender Name: The name you want to appear in outgoing emails.
- Sender E-mail: The e-mail address you want to appear in outgoing emails.
When choosing BrainCert as your mail server you will have @braincert.io email address for your outgoing communications.
If you wish to change your email server provider, click on the 'Change' button.

Step 3:
Choose your email server provider, from the dropdown menu.
Step 4:
Now, fill in the details in the given fields and click on the 'Save SMTP Settings' button.
The following fields are required to set up your SMTP server:
- Host: SMTP server hostname or IP address.
- Port: Port number of your SMTP server. BrainCert supports SSL and allows SMTP authentication by default. Try using secured ports such as 465, 993, 995, etc., for added security.
- Username: Your SMTP account username.
- Password: Your SMTP account password.
Click on 'Send Test Mail' to test your settings. If everything looks good, click on the “Save” button to save your configuration.
Choose the BrainCert mail server to access comprehensive email analytics for more effective email strategies.
We hope you find this information useful.
