Configuring SAML 2.0 with OneLogin
The OneLogin platform is an access management system that uses single sign-on (SSO) and a cloud directory to enable organizations to manage user access to on-premises and cloud applications. It is a tool to help empower employees, customers, and partners with secure access to your cloud and company apps on all devices.
Basically, it gives a layer of security and access to manage business applications. Instead of having to remember multiple passwords, URLs, and what apps you have access to, you are directed to an easy application catalog that will list your apps and can provide single sign-on.
Here is how users can configure SAML in BrainCert with OneLogin.
Step 1: Log in to your OneLogin account
Step 2: Select SAML Test Connector
Step 3: Create a New SAML Application
Step 4: Configure OneLogin
To configure OneLogin with details from your BrainCert SSO dashboard, enter all the service provider details from the BrainCert LMS SSO dashboard to the OneLogin (IdP) Configuration Dashboard.
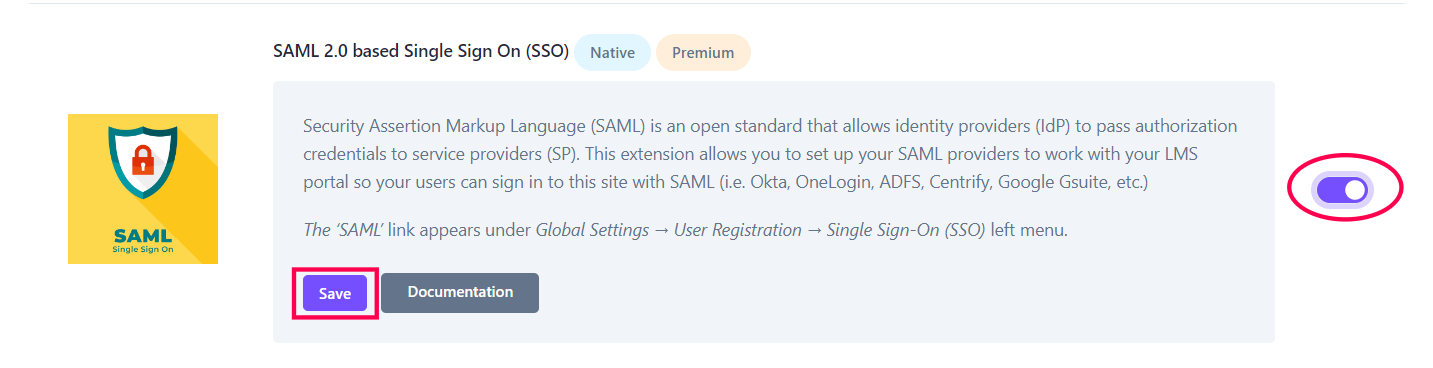
Navigate to 'Global Settings' --> 'Extensions' --> 'SAML 2.0'.
Toggle the switch and click ' Save'.
Service Provider
Copy Audience(Entity ID), Recipient, ACS (consumer) URL Validator, ACS(Consumer) URL, and Single Logout URL and paste it in the corresponding fields in OneLogin (IdP). Leave the remaining field blank.
OneLogin Dashboard:
Step 5: Add the Identity Provider Details From OneLogin
To add the identity provider details from OneLogin to the BrainCert SAML dashboard, go to the 'SSO' tab on the OneLogin menu and copy the Issuer URL, the SAML 2.0 Endpoint, and the SLO Endpoint and paste it into BrainCert 'Identity Provider Details field'.
OneLogin Dashboard:
Click on 'View Details' below the X.509 certificate field and it will redirect you to the certificate page. Copy the 'X.509 Certificate' and paste it into the LMS Dashboard.
BrainCert Dashboard:
Paste the Issuer URL from OneLogin at the 'Entity ID' on BrainCert. SAML 2.0 Endpoint in the 'SSO Service URL' field, SLO Endpoint in 'SSO Logout Service URL', and also paste the X.509 Certificate. Once this is done, 'Save' the settings.
Step 6: Profile Field Mapping
Now add the parameter Group to map BrainCert to OneLogin. Click the 'Profile Field Mapping' on the OneLogin dashboard and add the attributes email, First Name, Last Name, and Username as given in the LMS Profile Field Mapping.
BrainCert Dashboard:
OneLogin Dashboard:
